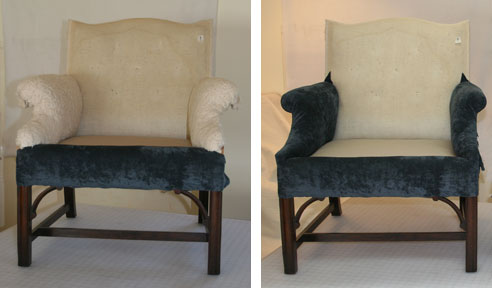
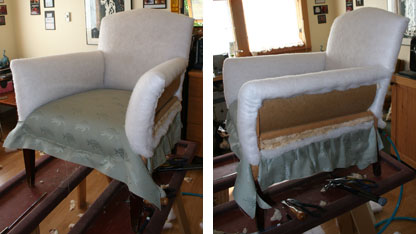
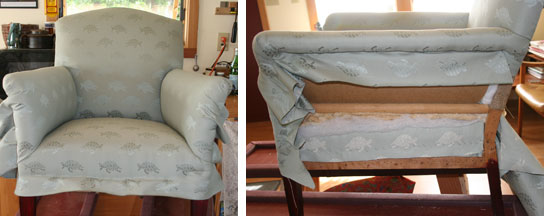
When applying the new cover fabric to your DIY upholstery project, you will begin with the inside, or the surfaces you are in contact with when sitting in your chair.

This chair’s cushion will sit atop the deck, which is the first layer to be applied, followed by the inside arms

This chair’s seat has no cushion – instead of a deck, the ‘tight’ seat is the first layer to be applied
A general rule of thumb is to always begin with the seat, following the reverse order of removal of the old fabric. This is a handy time to refer to your notes and photos from Step 4 – Deconstruction if you have them.

The cover fabric is applied to the inside arms next, then the inside back. Note that part of the inside arm will overlap the inside back as it wraps around to the outside
The majority of the fabric attachment will involve stapling the fabric to the frame or wood elements.

Covered buttons are attached to your chair after all inside fabric is secured
If there is any machine stitching to do – such as making welt (also known as piping), stitching panels together or sewing a cushion cover, it will be completed in this step or in the next step.
Previous: Step 7 – Fabric Layout & Cutting
Next: Step 9 – Applying Fabric to the Outside Surfaces
Join NaturalUpholstery.com’s mailing list to receive our monthly newsletter with reupholstery tips, creative inspiration, and resources for using natural, non-toxic materials for upholstery.